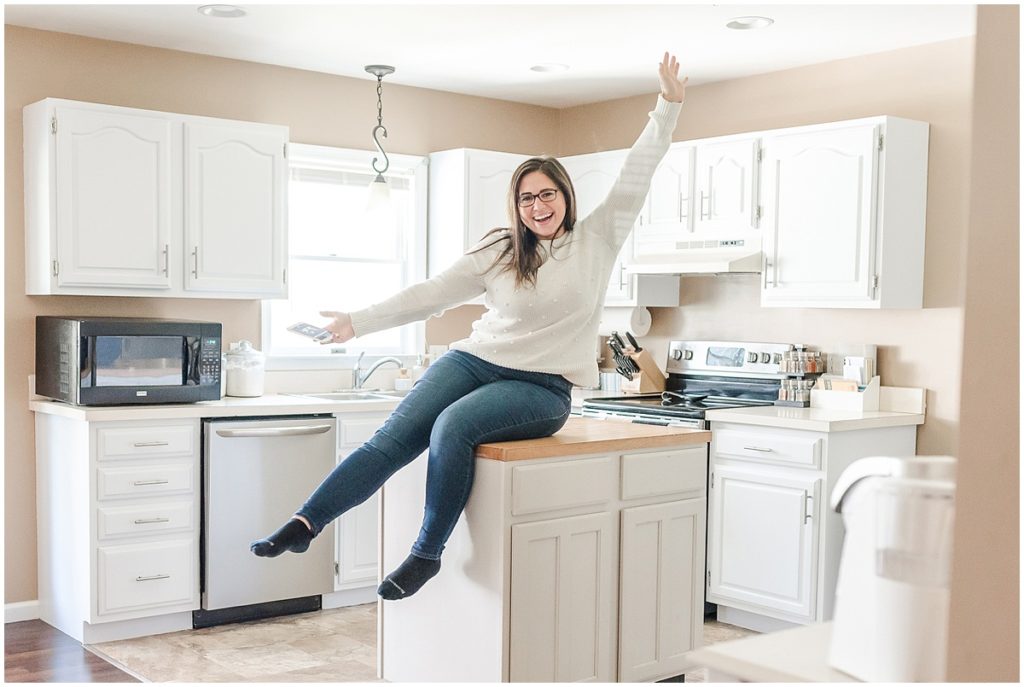
I must say I’ve never imagined I would be writing a DIY painted kitchen cabinets blog post! It’s been my dream for years (and ever since we bought this house) to have a white kitchen. If I knew it could be this simple or inexpensive (we’re talking less than $60 dollars people!! disclaimer: I used my amazon points to pay for most of it, but it’s still inexpensive!), I would have tackled this project a long time ago! From complete start to finish (taking off doors/drawers, sanding, painting, reattaching everything) took me just under two weeks to accomplish. Another disclaimer: I had all the time in the world with quarantine and no kids haha!
The thought of DIY painted kitchen cabinets crossed my mind plenty of times before, but truthfully I never knew where to start. I was introduced to this painting kit from a friend and after successfully painting my cabinets, I definitely love it! The application goes on so smooth and the way the paint dries it does not show the lines! Isn’t that amazing?
The only downfall of the paint is that it took me 4 coats to have the finished look I wanted. However, because the layers are pretty thin, the paint dries super fast! The easiest way to make this part go a little faster is to do a large section of painting at once. By the end of your section, the first part will be dry and you can start on layer 2, etc.!
A few last notes, it is super important to make sure you are sanding down the cabinets FIRST. I got a lot of questions on that! My process was this: unscrew cabinets, sand off any of the current finish that may be on (tip: this sanding handle was a game changer!!), wipe down with windex twice, and then paint! I did not use any other finish or top-coat because I didn’t want to have glossy cabinets! This paint does offer a very slight gloss, which I like!
So, without further adieu, I bring you before and afters of my kitchen cabinets! Enjoy! p.s. You better believe I’ve already been dreaming and schemeing up my next DIY project!! haha!
*the images are a mixture of different lighting and cameras
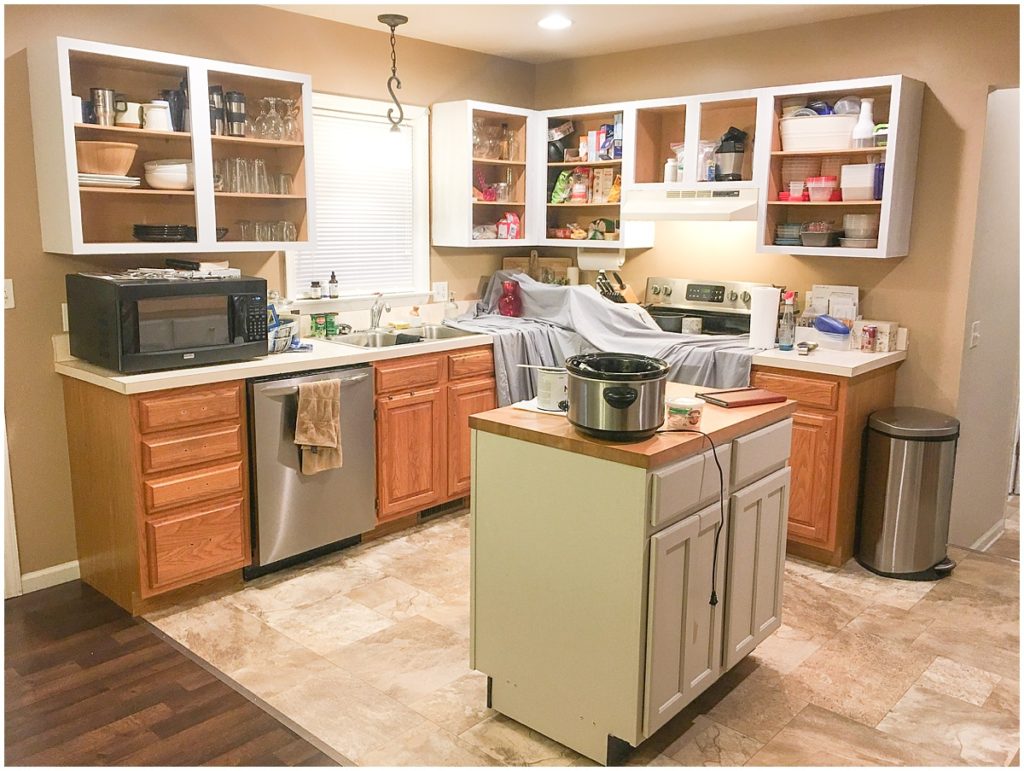
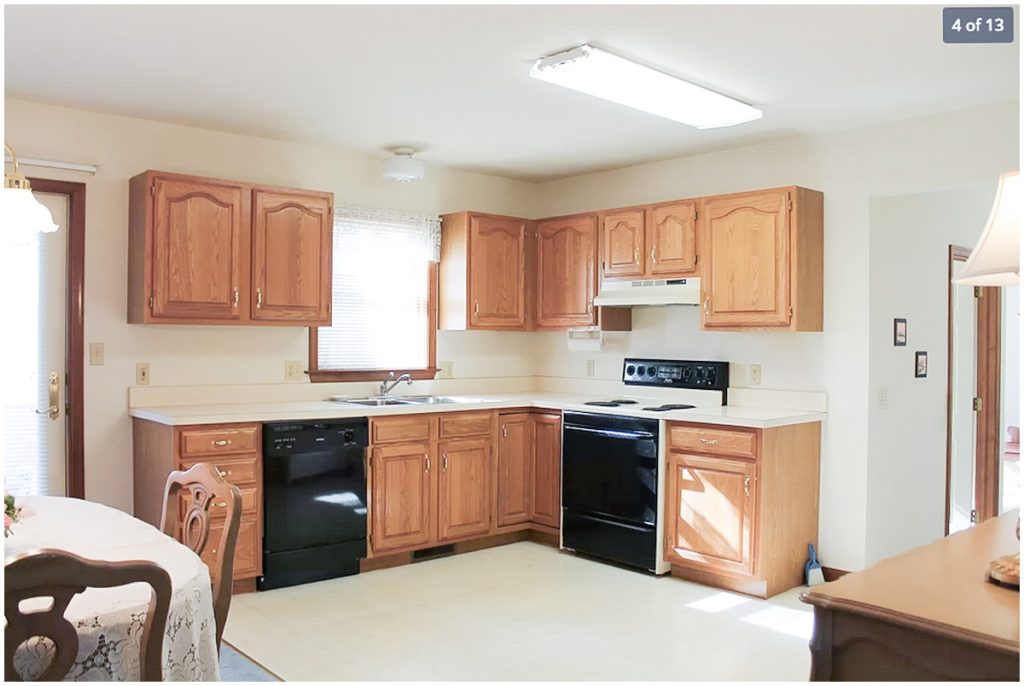
the very first photo of our kitchen, taken by the realtor! It’s come a long way;)
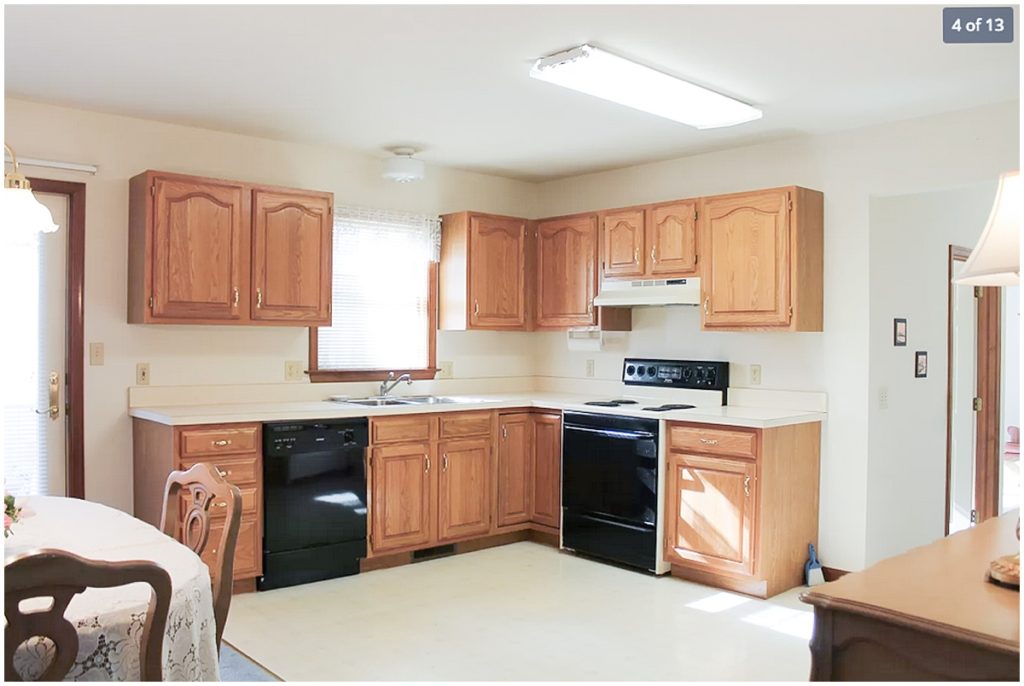
Some of the first changes we did were painting the walls, replacing the flooring and changing the appliances. A few years later we purchased this island, which was the best $50 I spent!
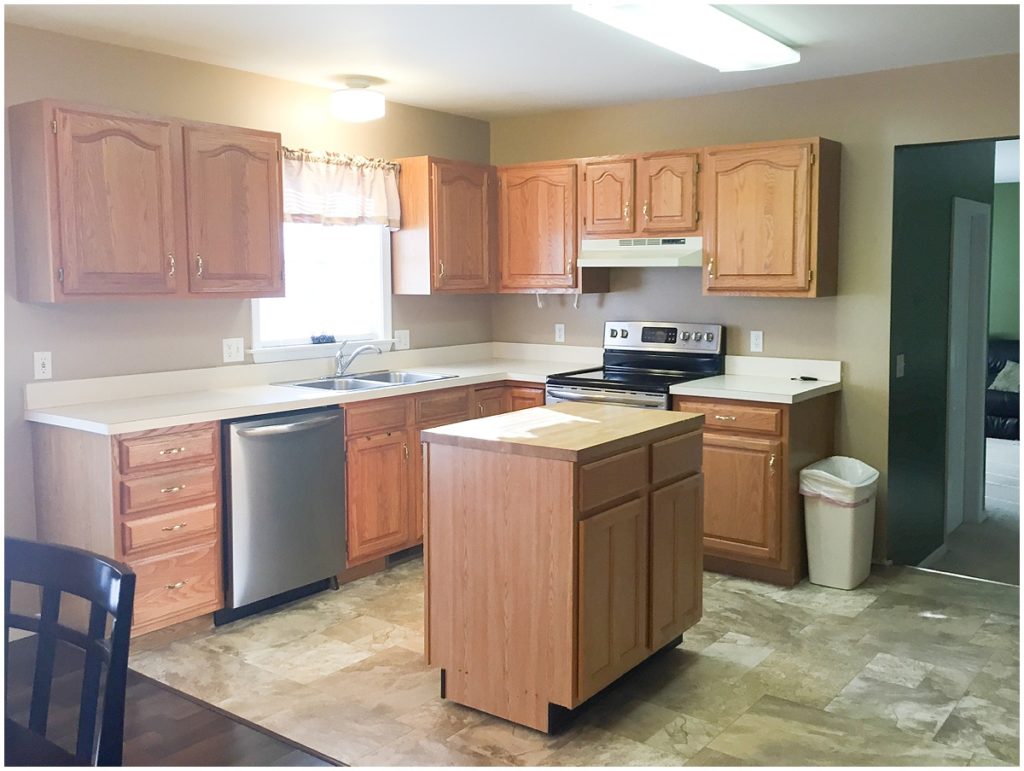
Thanks to our good friend, Michael, he installed recessed lighting and it made SUCH a big difference!!
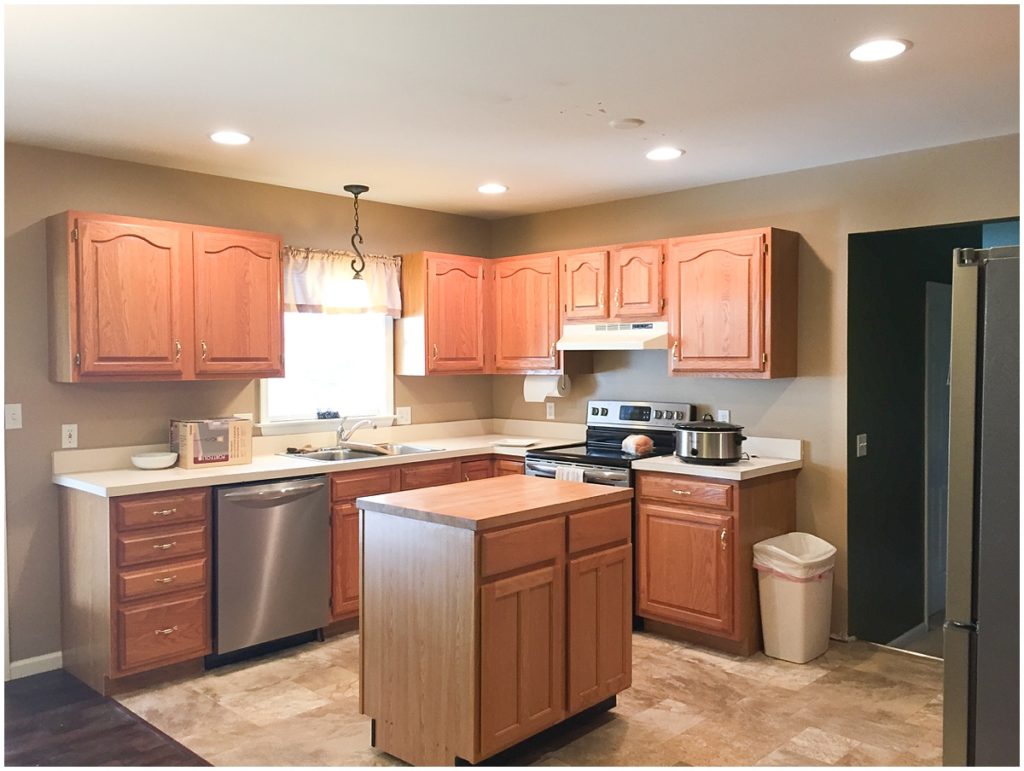
decided to change it up just a little and painted the island with my office color (and favorite white: soft chinchilla)
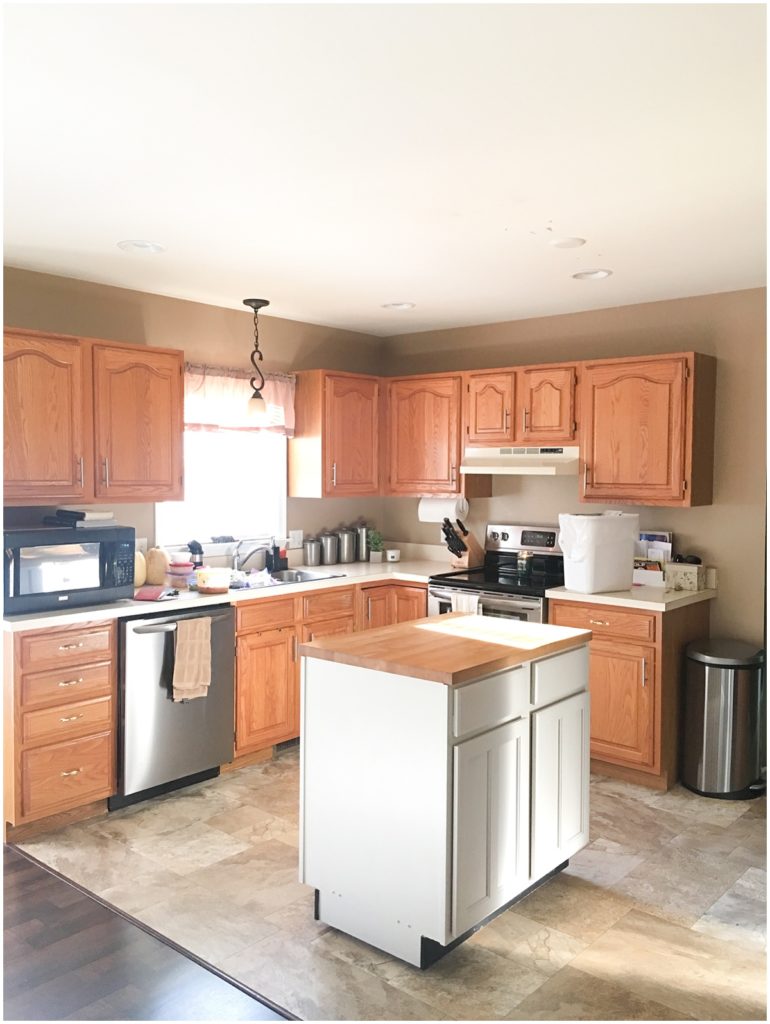
The kitchen came so far already (and not done yet either!), but we’re just getting onto the good stuff now! The Cabinets! I did all of the sanding and most of the painting out in the garage with my heater and ipad to have something to entertain me!
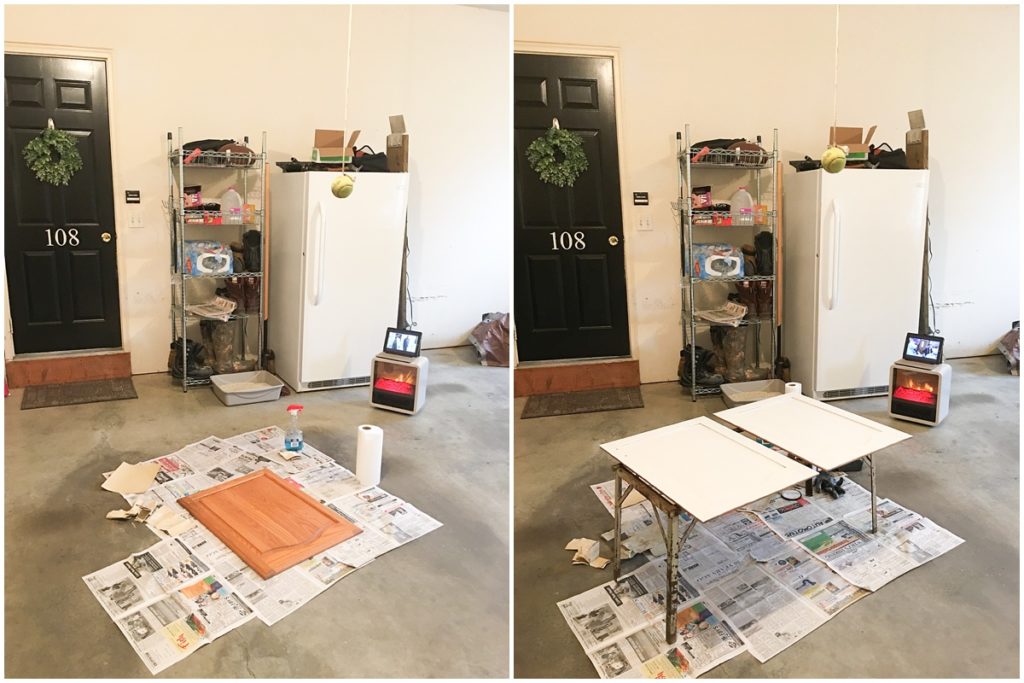
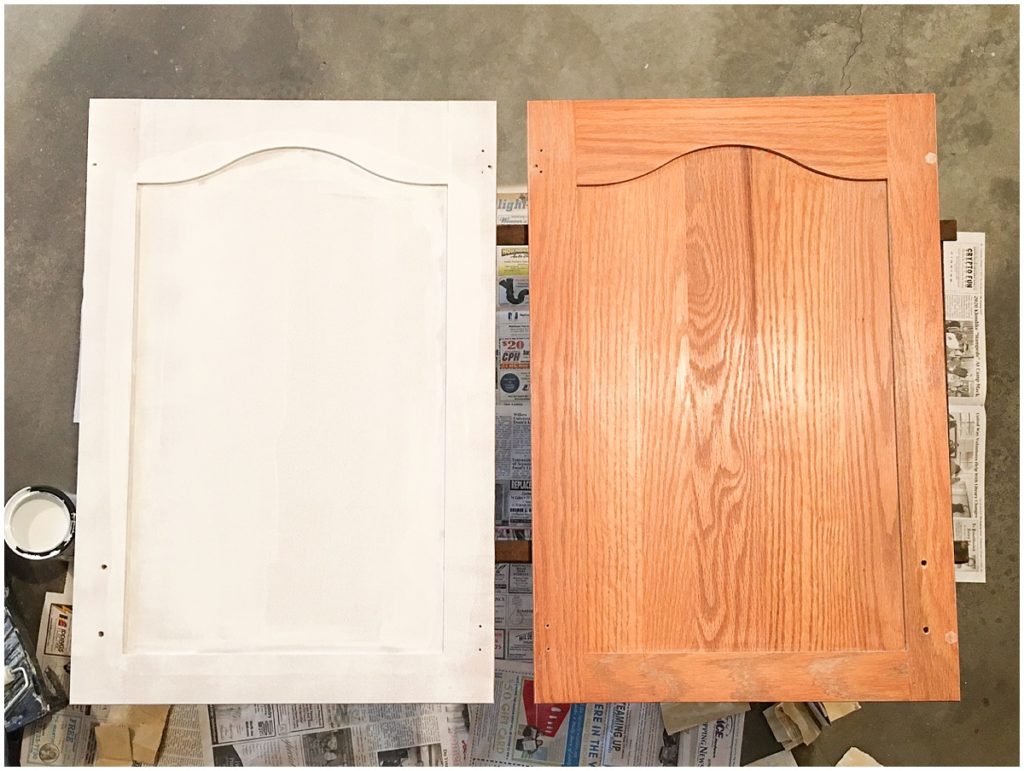
starting to paint the frame around the cabinets!
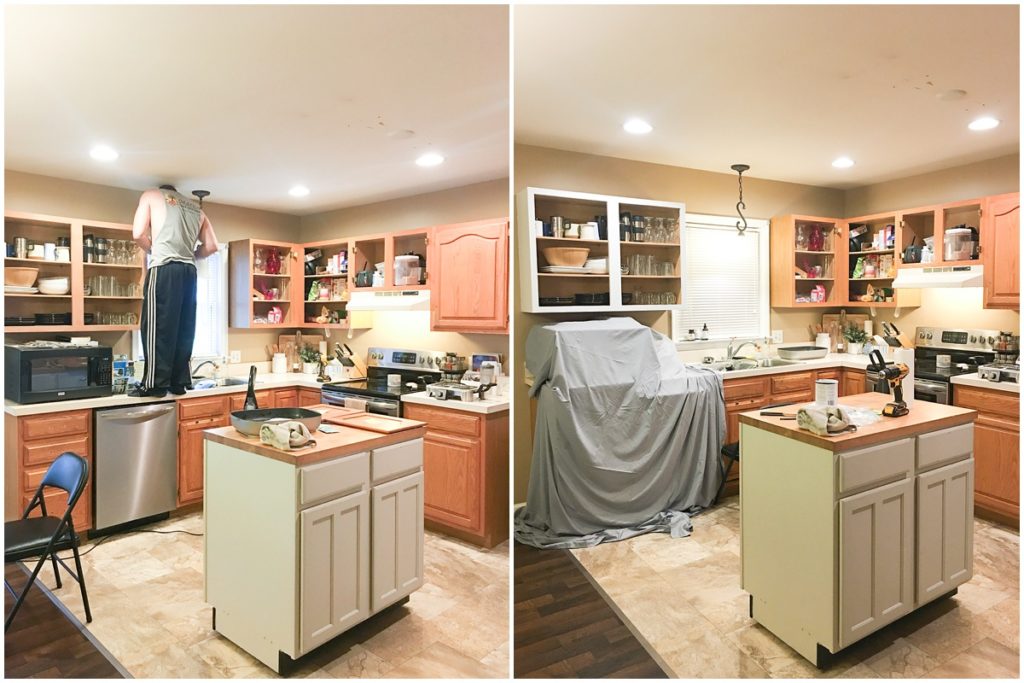
yahoo! the whole top frame is finished and ready for doors to be reattached!
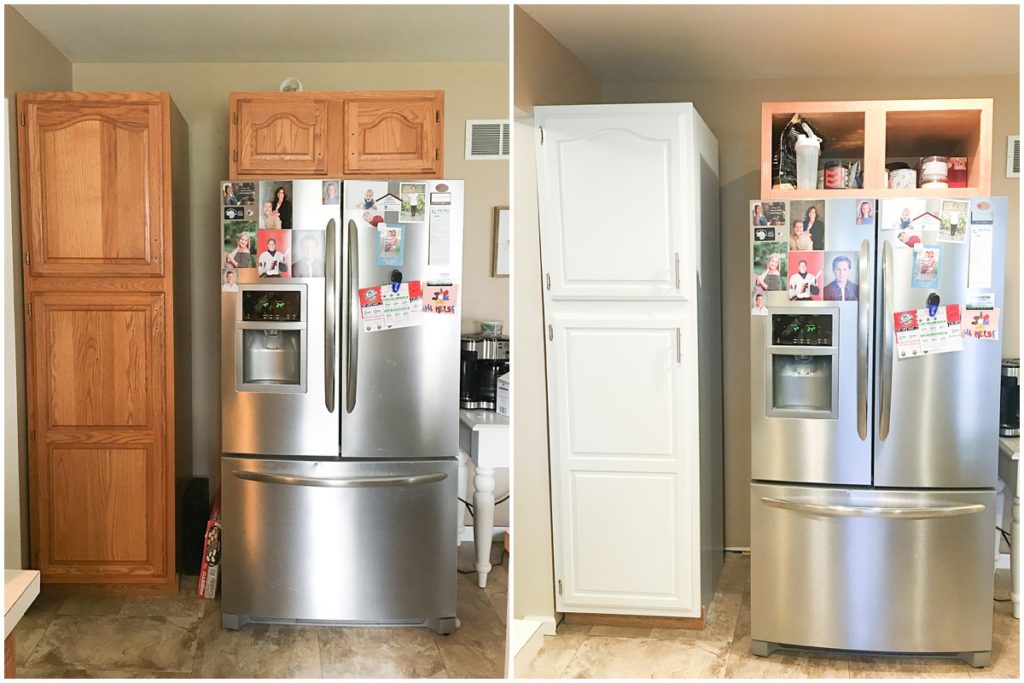
the pantry making some progress!
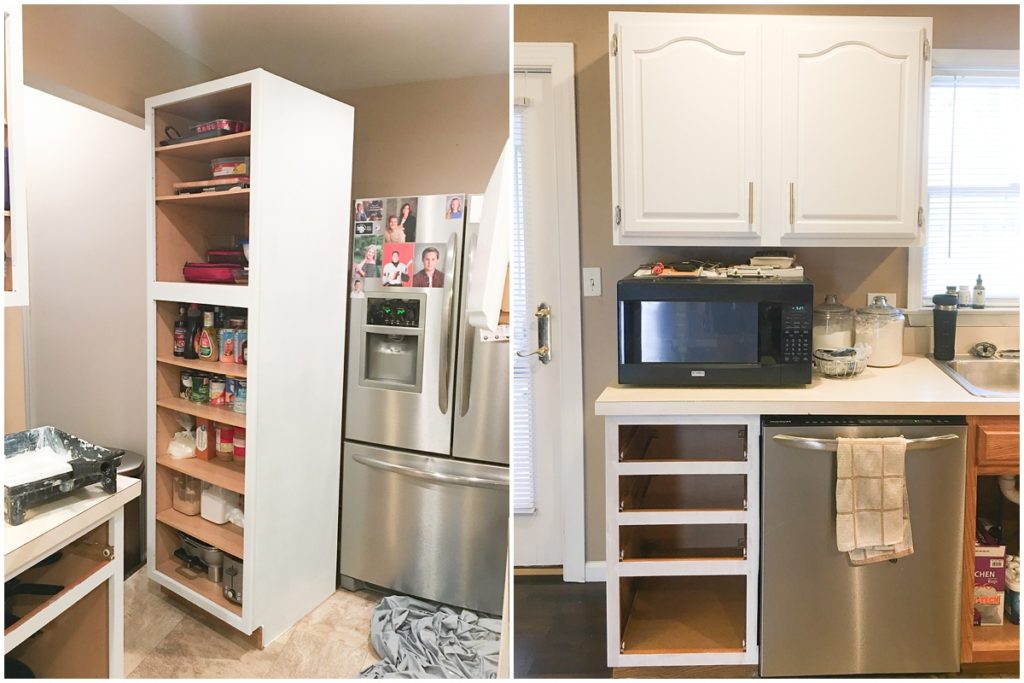
the bottom frame is finished too! ready for the doors! It’s starting to come together, slowly but surely!
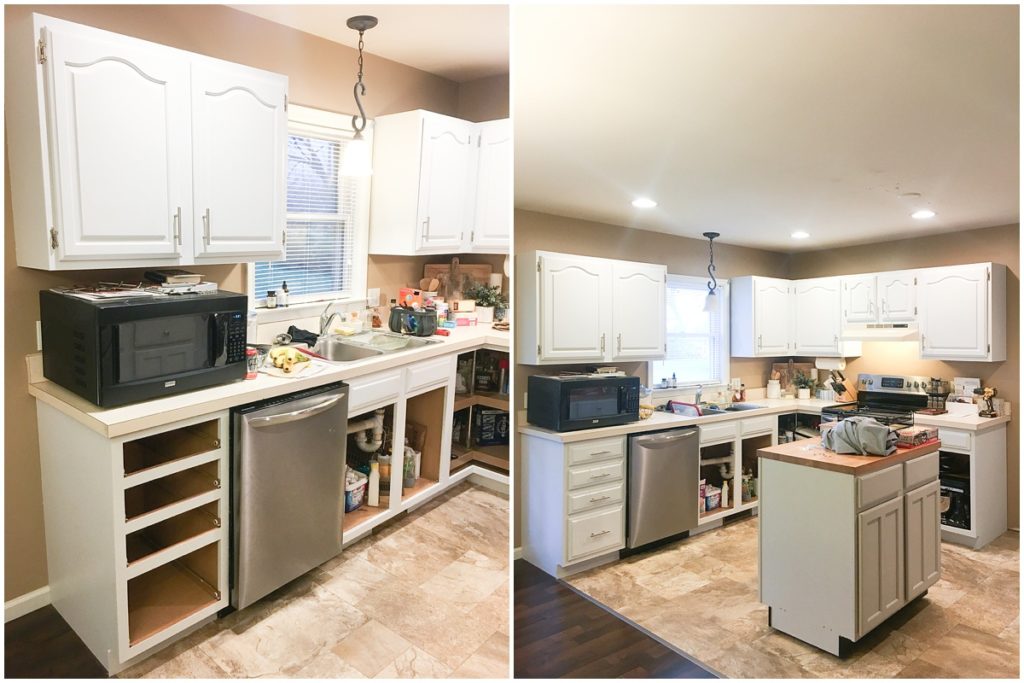
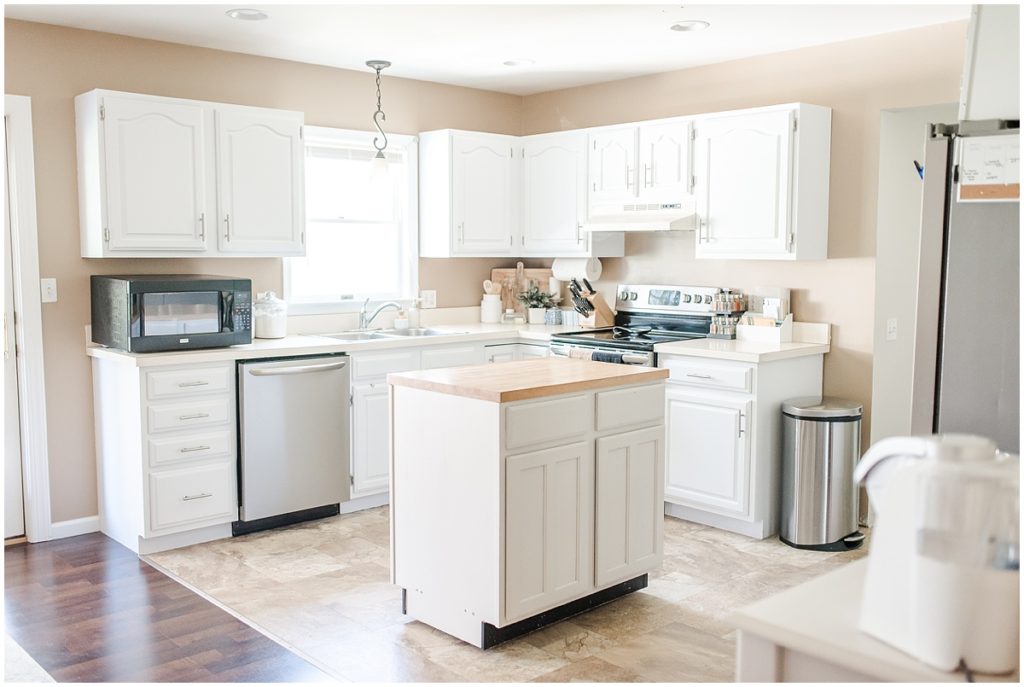
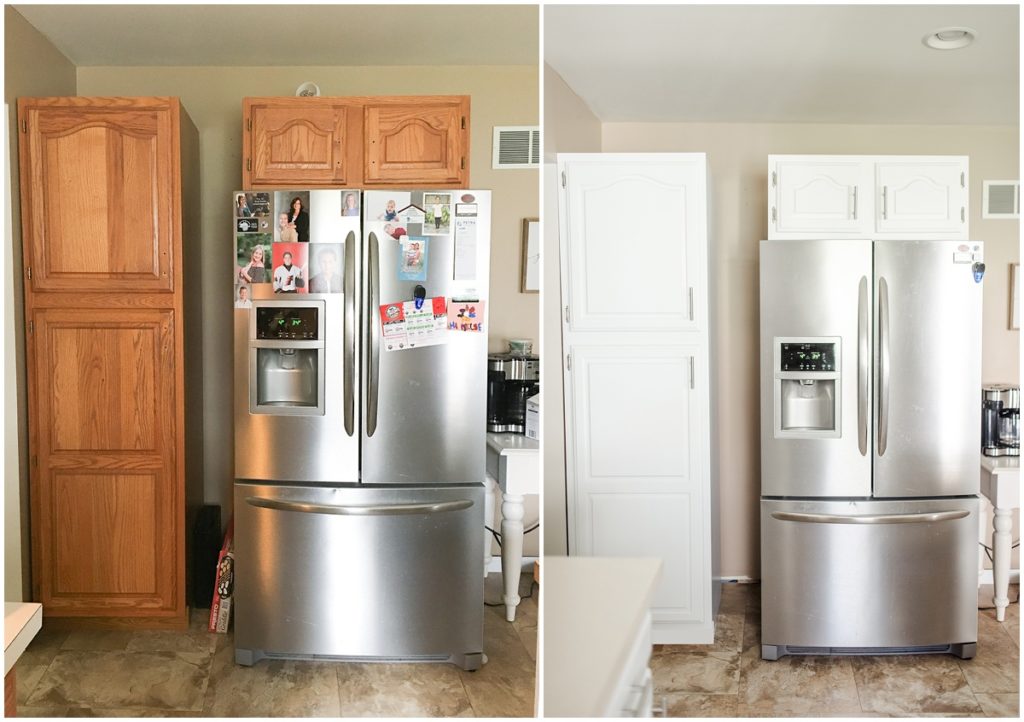
are you ready for the final reveal?! I present to you a completed WHITE KICTHEN! And just for some side-by-side comparisons…BEFORE
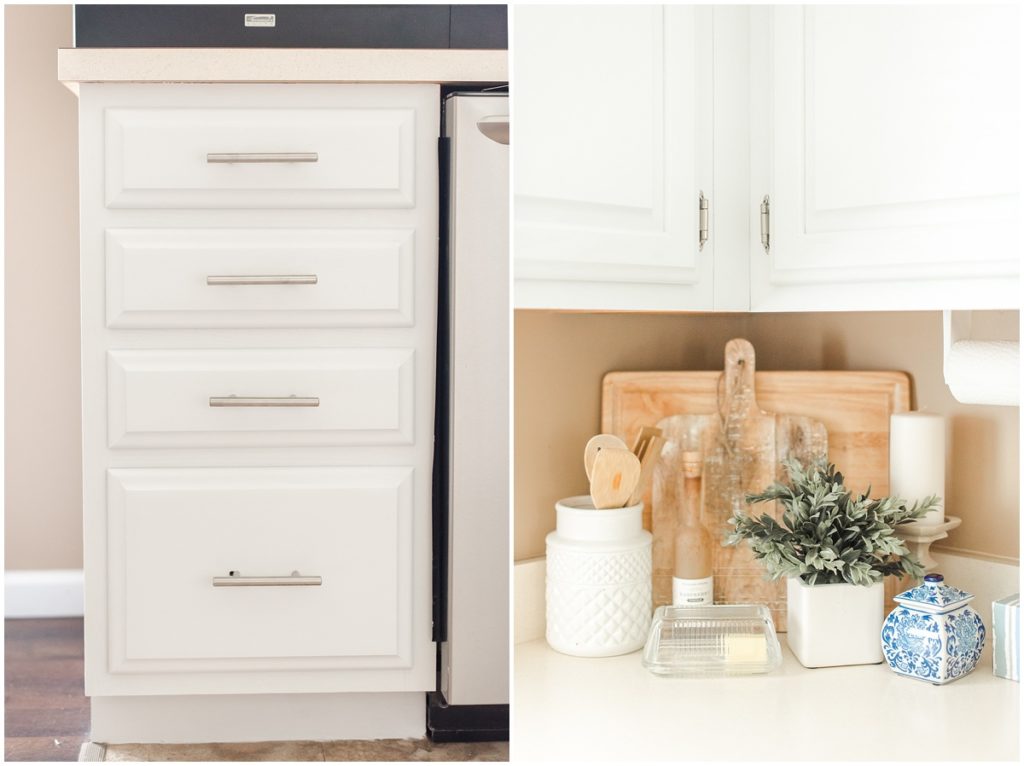
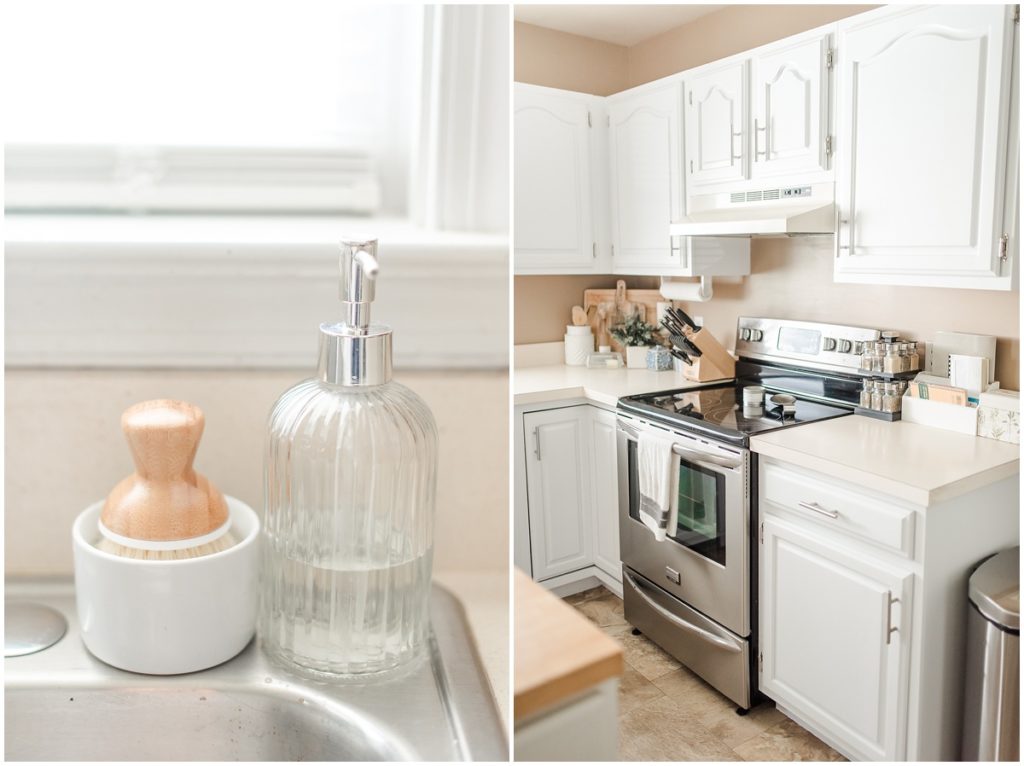
AFTER!!!! (black splash and countertops to come sometime in the future!)
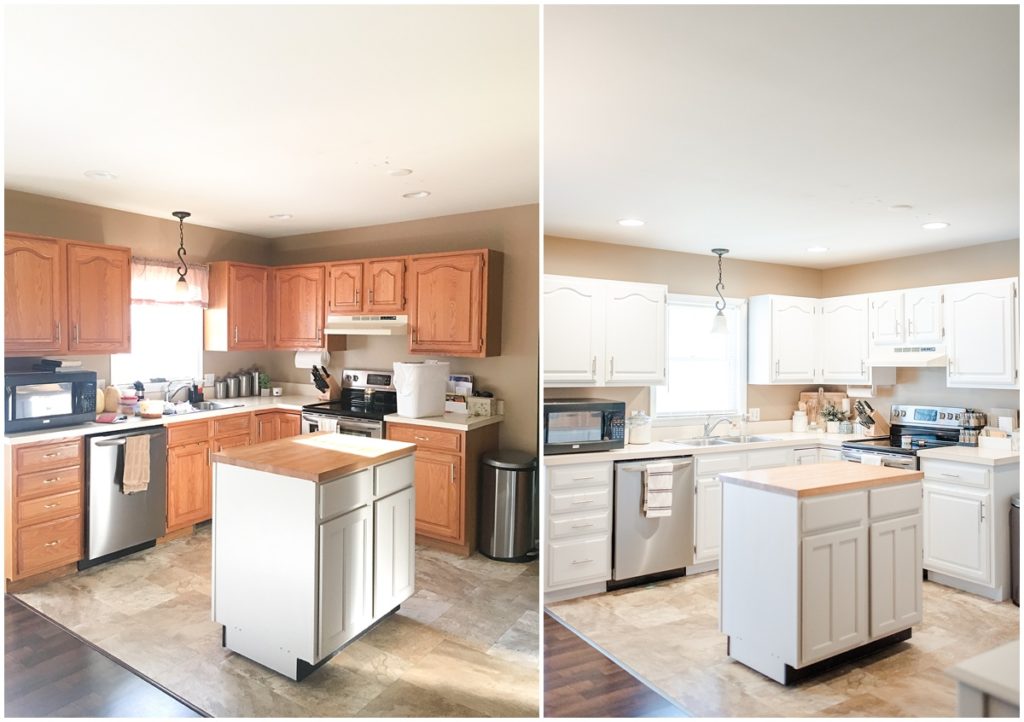
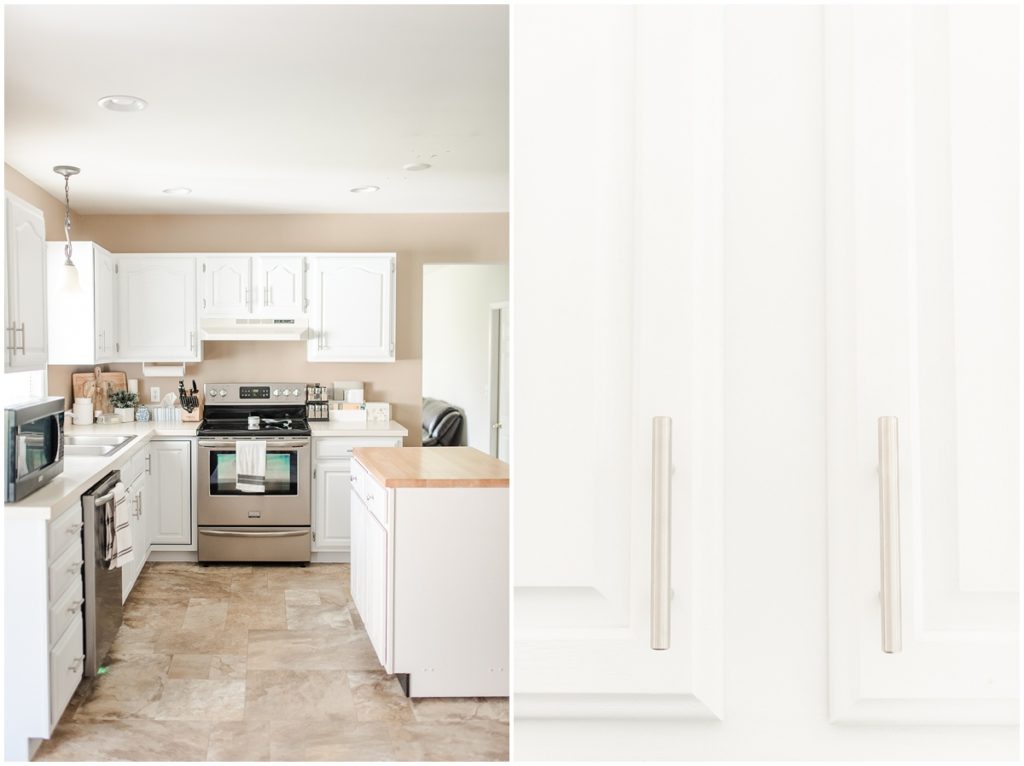
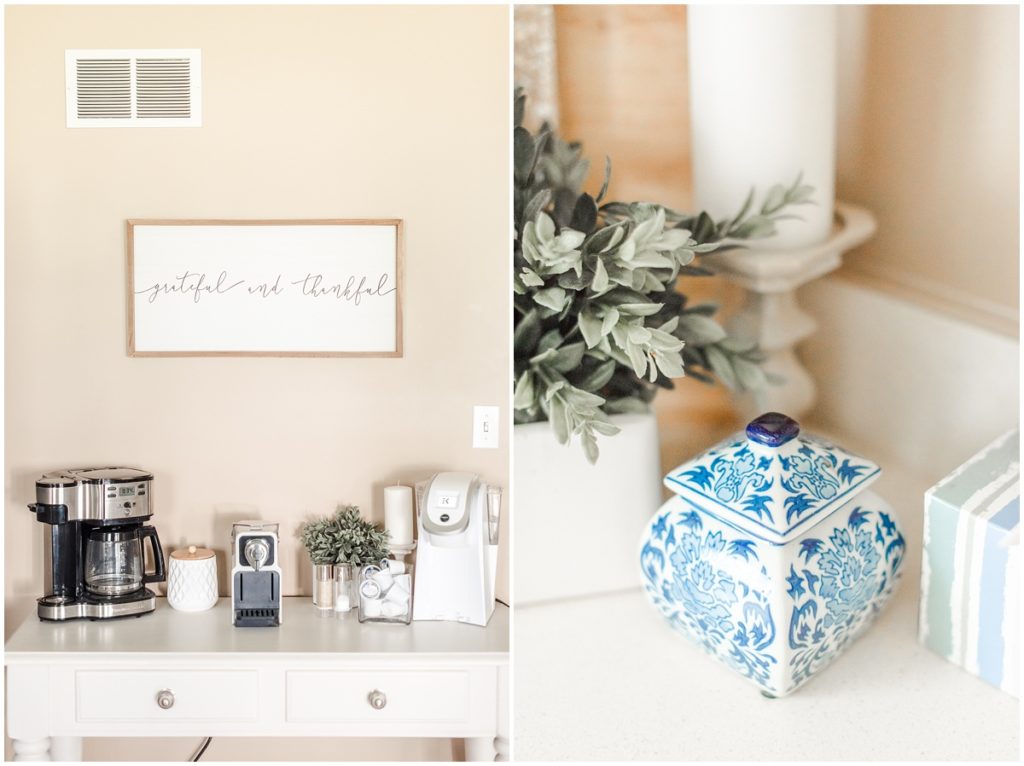
When we originally bought the house, the fridge, and pantry area were the opposite of what you’re seeing. We changed it and have yet to actually screw it fast and adjust the space. They never finished the right side of the fridge wall so I made it into our coffee area until we add more cabinets!
If you enjoyed this before and after, you’ll also love:
Kelsey Renee Photography Office 2.0 / Before + After
Our New Landscape / Before + After
You can also follow along behind the scenes of my other smaller DIY house projects here!
full disclosure: I do receive a small commission off of the links to Amazon if you decide to purchase! If you found this blog post helpful, consider using the links when buying the different gear!
